Contract Meeting Advice

It can seem like an age since you paid the initial deposit for your new house.

You have spent ages going through everything at Selection.

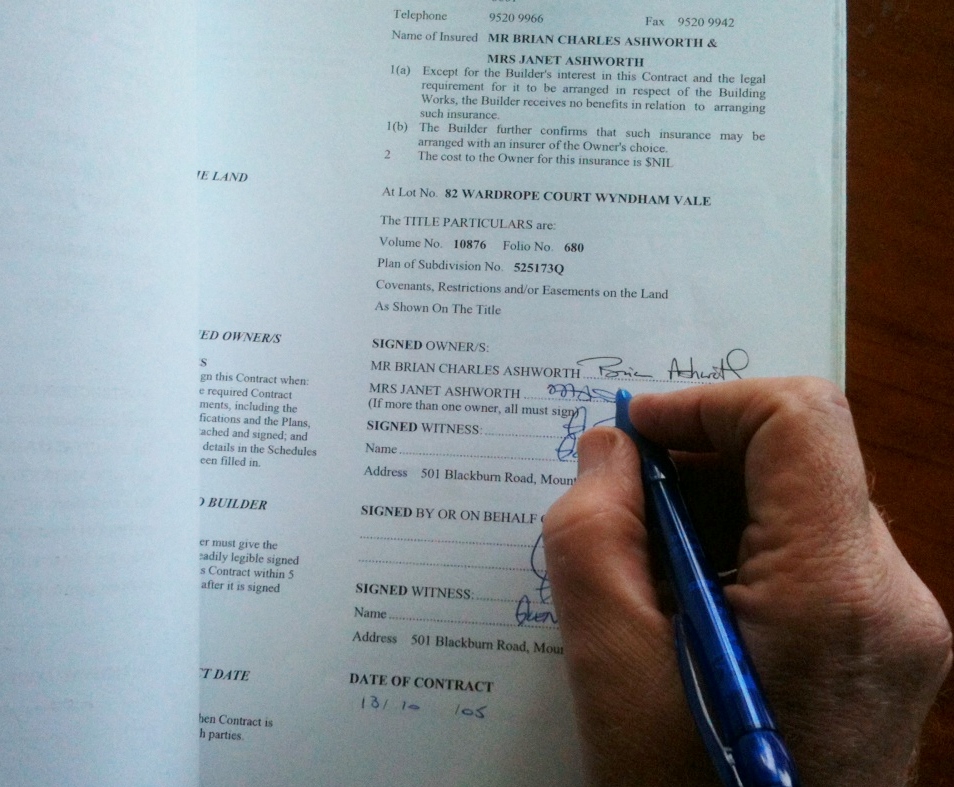
Surely you can just sign the contract and get started?………….That’s what the builder wants,………… but in my opinion you shouldn’t rush this step.

Time To Examine Contract

Most people aren’t familiar with looking at Contracts so they need time to take it all in in, or perhaps check with someone more experienced.

Let the builder know you want the documents a few days before the signing day, so you can have some time to examine them.

If they can’t provide the contract documents in advance be prepared to take the documents home without signing. You can always schedule another meeting.

Things to Check

Here are  things I look out for:

Changes to Standard Conditions of Contract. Having built using both the Master Builders and HIA Conditions of Contract  I consider these documents are reasonable to both parties. Make sure you ask the builder if they have modified the conditions, and look through the modifications carefully as they won’t be in your favour!

Stage Payments Not paying until after the work is done is your best protection against builder insolvency. Click on the title of this paragraph for more information.

Contract Period. How long will the build take, and has the builder taken into account bad weather and holidays.

Liquidated Damages Unless the Builder has to pay you a reasonable amount of compensation for delays there is little incentive for them to meet the Contract Period

Responsibility for Access. Most Standard Contract Conditions require the builder be responsible for ensuring the footpath is not damaged. I find some builders are trying to transfer the responsibility to you. I believe this is unacceptable as the the Builder is the only one who has control of  the situation.

Contract Estimate (Statement of Costs) This details how the cost of the house is calculated. Make sure that all upgrade items are correctly described and the price is as previously stated or agreed.

Schedule of Inclusions. Are all the Inclusions / ‘Free’ Upgrades, mentioned at the time of paying the initial deposit, mentioned in the documentation.

Specification Check that the specification also correctly describes what you want from the house. Often this will be a fairly standard document which will  refer to the Contract Estimate, Schedule of Inclusions and Drawings.

Drawings Check all the drawings to make sure they show what you want  including:

    • Correct facade.
    • Roof Details.
    • Room arrangements and sizes.
    • Electrical fittings layout.
    • Window sizes and types.

It’s much better to make sure everything is covered at this stage than try to deal with it later!

Finally

If the builder says he will reprint the whole document before you sign. . . . you need to check all the amendments you asked for are in the reprinted document. ( A friend of mine didn’t check and got caught out!)


My E book Guide to Selection/Pre-Start includes checklists that you will be able to refer to during Contract Checking.


Types of Fill

You will often find a reference to ‘Fill’ in your Geotechnical Report.

Your site may require ‘Cut and Fill’ to level the site.

Here is a bit of information about the various types of fill:

Ordinary Fill

Ordinary fill is normally excavated material from the site or from a unspecified location. After placement the excavator  tracks across it several times (known as Track Rolling) and then levels the top surface.

This fill is cheap but cannot be relied on for house foundations. You will either need to excavate through the fill to the underlying material, or use Concrete Piers.

Controlled Fill

Controlled fill is a known (tested) material either from the site or a specially imported material.

The filled area is constructed as follows:

  • The material is placed in layers, typically 150mm.
  • The water content is optimised, usually by adding water.
  • Each layer is compacted with specialised compaction equipment such as a vibrating roller.
Photo Courtesy of Coates Hire
  • At least 3 satisfactory tests of the compacted density of the filled area are carried out.

Providing the whole slab foundation will be on the controlled fill  your foundations only need to go down the required depth into the controlled fill.

No matter how well the fill was controlled I would not want to build where part of the house was to be on fill, and part on original ground…… In that case I would still like Concrete Piers, or Screw Piles installed through the fill to the original ground.


See Soil Classification for more information


Improving Soil After A New Build

Guest post by David Limburg of Online Garden Design

With most new houses, the garden is often the last aspect of the new build that is considered. Often the soil is left in a terrible state by the construction process. Below we outline how to improve your soil after the builders have gone.

What’s Needed

Improving the quality of the soil is necessary for healthy plant growth. Making certain that the soil is of good quality will provide the necessary nutrient for roots to grow which depend on the soil quality.

Soil of very good quality is often denoted as loam; it contains sandy and clay partials in such case, the soil has enough porosity and drainage such that it can hold fertility, nutrients, and moisture in abundance.

Improving The Structure

A nice friable loamy soil is achieved through two main functions:

  • Good, thorough aeration of the compacted soil.
  • Addition of LOADS of organic matter such as compost.

Organic matter will not only improve the soil structure, but it will also enable the soil to retain more moisture and nutrients and provide an excellent medium for plants roots to thrive.

Testing The Soil Quality

Testing the soil is to determine the pH level and nutrient content, factors essential for good quality soil. Too much or too little nutrient, such as phosphorous or potassium, is detrimental to plants. The correct quantity is necessary for best plant growth.

The pH offers an indication of the concentration of nutrient in the soil and has values from 1 (most acid) to 14 (most alkaline).

Testing the soil to determine whether it is perfect for the type of plants that you want to be growing in your garden is very simple by the use of test strips.

Generally vegetables and ornamental prefer soil that is little acidic with a pH of 6 or 7.

Soil that does not have the correct pH prevents plants from acquiring the necessary nutrient, even if they are present in the soil in high amount. Low pH may also increase the solubility of certain minerals to toxic levels like magnesium.

 
Online Garden Design custom made unique landscape designs – Landscape design packages and do it yourself landscape guides. Landscape designs/garden plans for new house builds. Online Garden Designs Australia wide including Sydney, Melbourne, Brisbane, Perth, Adelaide, Canberra, Darwin, Hobart


Water Hammer Cures

If you are getting water hammer in your new house it can be really annoying.

As the problem is caused by fast flowing water being stopped suddenly here are some options to cure it.

Slow the overall speed of flow down

Pressure, which affects the speed of water flow, does vary depending on your location. By turning down valves you will counteract the high pressure and slow the flow down.

These are both no cost options which are worth trying first.

    • To the whole house

If you have got very high pressure at your property you may be able to turn down the external stop tap to the house, while still getting plenty of flow to your taps.

    • To the washing machine and dishwasher

These appliances have separate supply valves which can be turned down. The machines will take a little longer to fill adding a couple of minutes to the wash time………..but how many of us are in that much of a rush!

Don’t stop the flow as fast

Lever action taps are the worst kind of taps for causing water hammer because they can be shut off quickly.

Softer slowing of flow, rather than a sudden stop will reduce water hammer.

These are three options to achieve a softer flow cut off in, listed in order of increasing cost.

    • Slowly turn off  taps.

The no cost option……….but doesn’t always work if you have got children, or just have fast ‘lever action’ taps or mixers.

    • Fit anti- hammer tap valves

These replace the Standard valve inserts with a unit that includes a spring. The spring allows any pressure surge to escape past it and means the tap need more of a turn, and thus longer time, to fully close.

Typically they cost around $6 each plus fitting.

Not  suitable for the more complex mixer units.

    • Fit a surge arrester

This device is fitted to the pipe before the valve. The cylinder  has a piston that separates the water from compressed air in the top.

When the valve shuts some of the water (and the pressure surge) is diverted into the arrester pushing the piston up and compressing the air. It acts a bit like car ‘shockers’ to slow the water flow.

There are several sizes of arrester depending on your system with prices starting at around $70 plus fitting.

Fit a Pressure Reducing Valves

See this link for more information: PRV


See Settling In for more information about when you move into your new house.

See Rattling and Thumping Pipes for more noise problems.


Negative Investment

Negative Investment can be quite a problem…..but what is it.

Well it’s when the house is worth less than you paid for it. This can be a real issue if you need to sell the house.

There are three ways you can find yourself in a Negative Investment Situation:

Falling House Prices

For a long time a lot of people though that house prices always go up.

Over the past five years prices have been more up and down. Now they seem to be on the way up at the moment but there is no guarantee that will continue.

Unfortunately there is nothing any of us can really do about this problem in the short term. If you can wait long enough you should get your money back. In 1991 we built a house in Country Victoria for $130,000.  Ten years later we couldn’t sell it for the original cost.  After renting it out for another 5 years we were able to sell it for $200,000. 

At least with this type of negative investment it will also typically affect the price of any house you buy when you sell your existing house. That’s  good if you do keep in the housing market……….but not good if you have to sell and enter the rental market.

Extensive Upgrades

I have already mentioned that the builder provides the Typical Display Home with upgrades that increase the cost of the base house by 50%.

If you go for a similar level of upgrades you may not get your money back. This is because:

    • When you put the house on the market you will be competing with houses in the same suburb that didn’t cost as much. Those owners are happy to sell for less than you. This means you may only get minimal interest from buyers.
    • Taste is very individual. For instance prospective buyers may not be too keen on the ‘Special’ tiles you paid  thousands extra for.

If you keep the house for a long time,say 20 years, this effect of the upgrades diminishes as your original costs wil be long forgotten and buyers will be expecting to remodel.

Over Development

Over Development is the extreme version of upgrades. Its when you put the biggest possible house on your block….. Often loaded with upgrades.

With this you may now have a house that costs two or more times that of the average house in the suburb.

When you come to sell the problems are:

  • For the price you want most people will prefer a smaller house in a more expensive suburb.
  • Generally people want outdoor space in proportion to the size of the house. A narrow gloomy strip at the sides and back won’t cut it.

The trouble with Over Development is it can have a permanent effect on the value of the property.

Location – Fail


One of the things I like about Australia is that once you get Development Approval on a new subdivision you can pretty much put up any type of house you like.

You can walk around an area and see a Hacienda, a French Chateau, a California Bungalow all in the same street.

It makes every street seems different and interesting.

This is not like the UK where you walk round some large estates and every house looks boringly similar.

The trouble is that some people love a particular look that doesn’t go with the location.

This house would be great in an inner city site like South Melbourne, or Paddington in Sydney where it would be in the middle of a terrace of similar houses.

It just looks lost by itself on a 1/4 acres outer suburban block, and the enormous garage just adds to the sense of incongruousness.

For more fails and unusual houses go to What the………………….?

Building On Rock

Based on the Soil Classification rock is considered one of the best surfaces to build a house foundation.

It comes under the Classification Class A.

That  doesn’t mean its going to be cheap especially for a conventional raft or waffle pod slab.

Any excavation such as leveling the site and excavation for sewerage and drainage trenches is going to be be expensive. This is due to it requiring a heavy excavator and rock breaking equipment.

Keeping Costs Down

If you have a site that has rock close to the surface the most economic base construction is likely to be Piers for Lightweight Construction. (including  Pole Houses and Queenslanders)

If  you want a Masonry House  (such as Brick Veneer or Double Brick) then you need to minimise the amount of excavation by going for suspended floors.
 

Also see Provisional Sums to find out the issues of finding rock during the construction.


Rainwater – Pressure Tank

A pressure tank,  which I think is the most important upgrade to a standard rainwater supply system,  looks like the photo on the right.

Small tanks are mounted on the pump, larger tanks like this one are on the ground.

Key Features

What you get is a cylindrical storage tank storage tank with an internal membrane.

The top part of the tank, above the membrane, is filled with compressed air.

The bottom part of the tank will be filled with water by the pump from a connection at the tank base.

In the top half of the tank there is an air valve where you can check the air pressure and add more air if necessary.

How It Works

 The top of the tank is pre-charged with air to a pressure slightly lower  than the ON setting of the pressure switch.

When the pump starts water is pumped into the tank compressing the air until the maximum pressure is reached.

If you turn on a tap  the compressed air will push water out of the tank until the  tank is almost empty (when the pressure will have dropped to the minimum level)

If you use less water than that stored in the tank the pressure doesn’t drop enough so the pump doesn’t start.

Once the pressure switch turns the pump back on, the pump fills the tank while at the same time supplying water to your system. Even if you turn the tap of the pump will continue to run until the tank reaches maximum pressure.

Tank Sizing

Although very small tanks are available about the smallest tank I would recommend would be an 18litre tank, which would give a flow volume of around 5litres between pump starts.

A 35litre tank with a flow volume of around 11litres between pump starts would ensure a toilet flush would not exhaust the tank.

Why Should You Get A Pressure Tank?

It can cost more than some pumps to buy the pressure tanks so why buy it is an important question.
To find out the problems with a standard set up see the post “Rainwater – Pump Issues
The pressure tank should:

    • Double, or even treble the life of the pump, by reducing the number of pump starts and pump run time.
    • Significantly reduce the power usage by ensuring the pump mainly runs at the design rate.
    • Reduces the noise nuisance by less frequent pump runs.


For more posts about tank water see the Rainwater Section under the Sustainability Tab


Exit mobile version