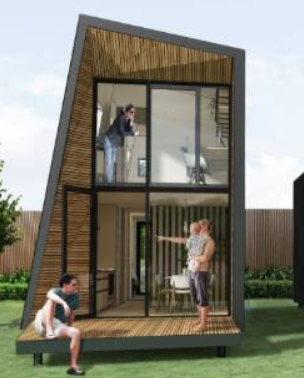
Do you want to build your own house?. . . . If you want to make sure you don’t overspend, and don’t want to be still building in three or four years then you need to think about how you manage the whole project.
Below are five phases of managing a build that you need to consider:
Starting Off
Assuming you already have a block of land this involves:
Finding out how much of a house you can afford to build.
Getting plans drawn up and getting preliminary pricing,
Obtaining planning approvals and building permits
Planning
Some of the tasks in this stage are:
Breaking down the build into work packages for the different trades that will be working on the build.
Getting quotes from the trades which will include estimates of the time they need.
Drafting a programme with adequate time allowances (Make sure you allow time between trades, unlike what happens on ‘The Block’ tradies don’t want to work at the same time another tradie is on site)
Arrange insurances for the work and contact utilities
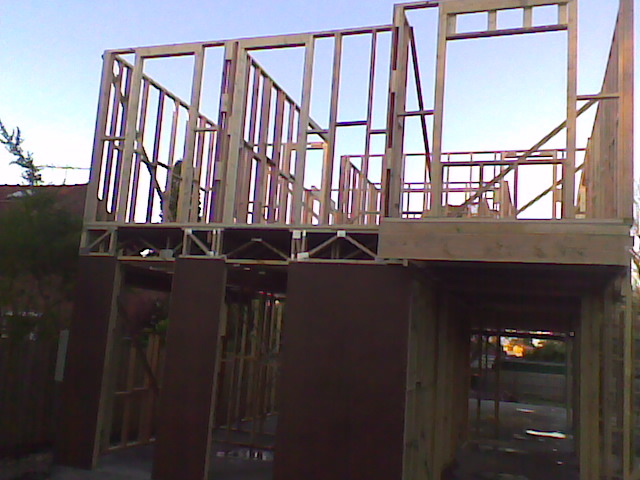
The Build
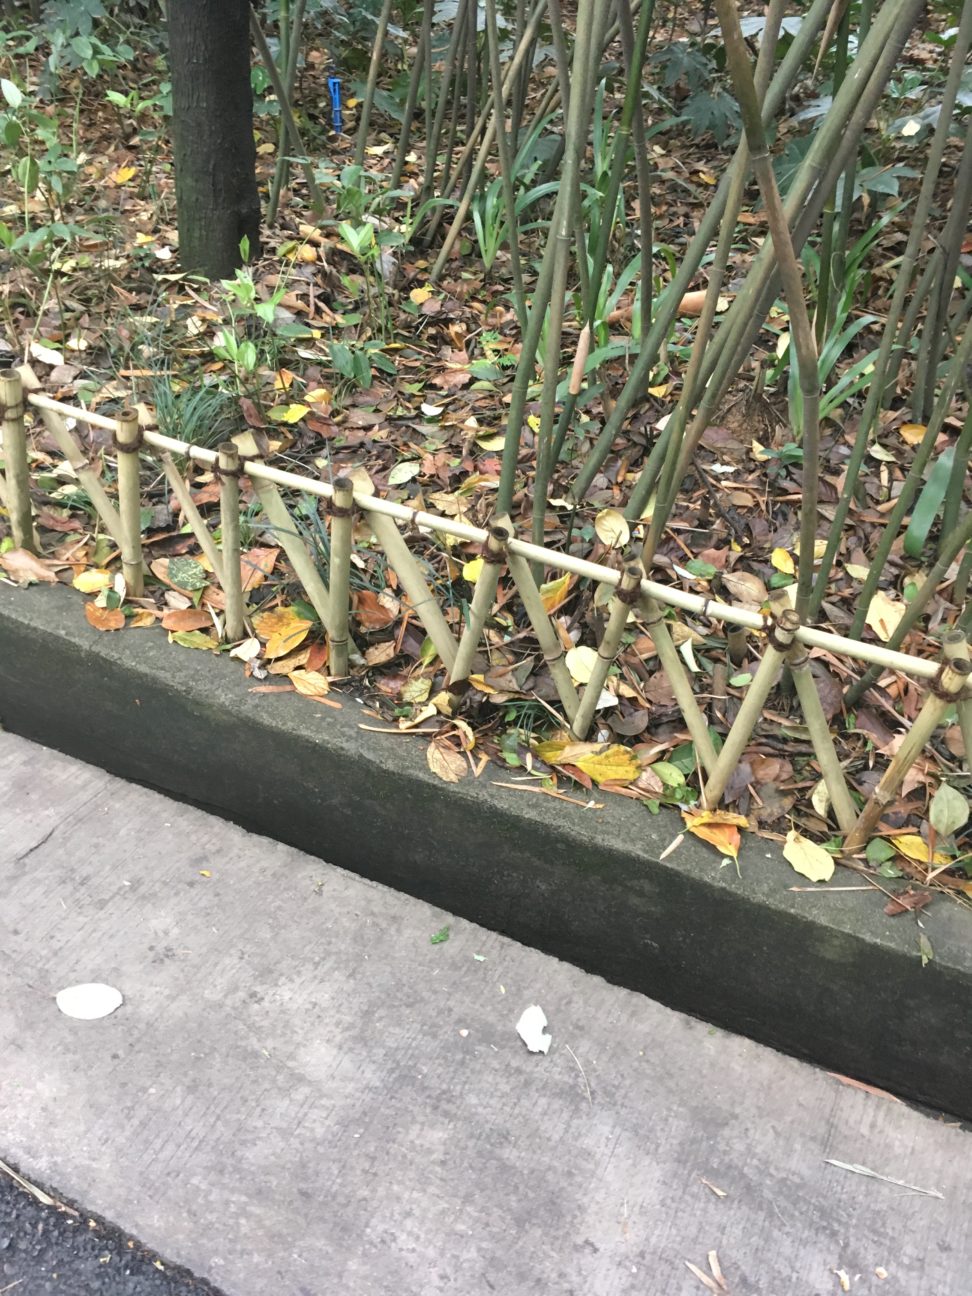
A build will normally start by fencing the site and getting a site toilet delivered.
The hard work then starts:
Ordering materials
Organising the trades
Sorting out the unexpected problems
Organising formal inspections by the building surveyor.
Monitoring
Monitoring involves both quality and time.
It is a human tendency to cut corners, especially when things will be quickly covered up so you need to check the quality of the workmanship on a regular basis.
Also you need to keep an idea on when you will be ready for the next trade and keep them informed of any delays and changes to plan.
The furniture and fixtures in your home should be personal; they reflect your taste and your personality.
Unfortunately some of the best pieces have price tags that may be above your current budget.
Fortunately this doesn’t need to be an issue!
You can actually make your own furniture and fixtures.
Not only will you have the satisfaction of creating your own unique furniture; you’ll also have the opportunity to help the environment by up-cycling materials.
All you need is the right tools which can be easily gotten from Tradeline tools; the necessary
materials and a little time.
Some imagination helps; you’ll be amazed at what you can create!
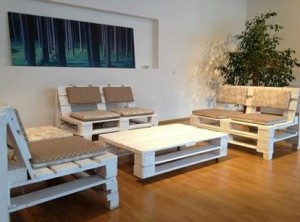
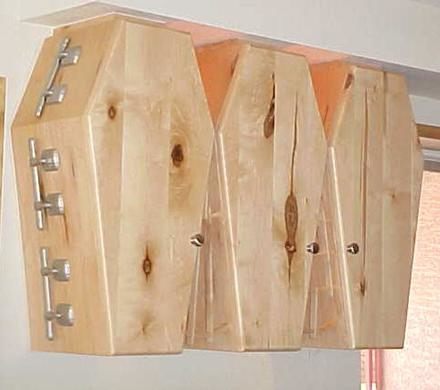
Pallet Chair
This is a great introduction to making furniture.
All you need is a few pallets; your local warehouse will probably be happy to give you some.
Then bolt one pallet to the back of the other at a 90° angle; use what supports you feel are appropriate to hold it in position.
You can leave it as a low chair, add legs or simply sit it on top of other pallets.
Cushions
Your pallet chair or sofa will need a cushioned seat and a few cushions dotted round the home will add a delightful touch of color.
All you need is a piece of material large enough to make the cushion you want.
Sew it together on three sides and then fill it will foam.
You can then either sew the last side up or, if you’re feeling adventurous you can add a zip; allowing you to wash the cushion cover in the future.
Shelving
This is one of the easiest projects you can do.
Simply use a new or old piece of wood and some shelving brackets to secure the wood to the wall.
You’ll need raw plugs and a spirit level.
You can personalize this by using an old skateboard or tree trunk to create the shelf and make it
more distinctive.
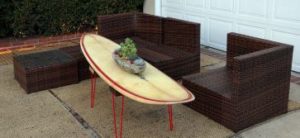
Table
You can create a skinny table or a large one; all you need is some old table legs and a piece of wood, or even a surf board for the top.
The style, design and color are completely up to you!
Indoor Swing
This is a great fun and practical idea.
You’ll need some good quality rope that should be secured to your ceiling joist.
This should then be angled out on both sides and attach to a flat piece of wood as wide as the swinging chair you want.
Knot the rope and reed it down to the rear edge of the material and feed it through to the front before re-securing it to the wooden board.
Do this on both sides and you’ll have a delightful looking chair which is surprisingly comfortable.
Kitchen Island
Plywood is all you need to create a perfect kitchen island.
Simply create the box shape to the size you want and then cut door openings and add shelves.
Finish the kitchen island with a coat of paint and admire your handiwork.
There really is no limit to what you can make with a little imagination!
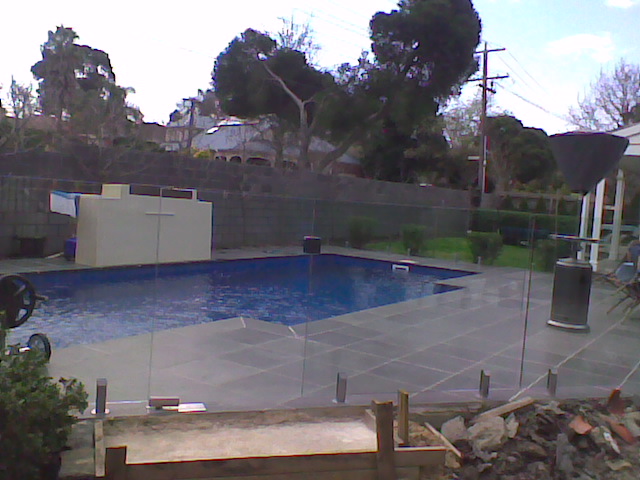
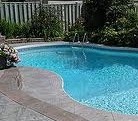
For a reasonable sized pool with a paved surround and proper fences you are unlikely to get away with less than $60,000.
Add it to your mortgage and you are going to be paying at least another $3,000 a year.
Running costs
Typical costs are:
Electricity is going to be around $1,000 a year.
Chlorine and other chemicals: $400 a year.
Maintenance of pumps covers etc $200 a year.
Plus much more if you are going to have heating!
Overall
Based on the above figure annual costs are going to be around $4,600.
But how many times a week will it be used over the 13 weeks of summer?
Well it could be 30 times during the summer holidays but over the whole 3 months 14-15 times a week is more likely.
$4,600 divided by (13 x 14) = $25.27 . . . and you don’t even get a decent swim, 2-3 strokes and you hit the wall.
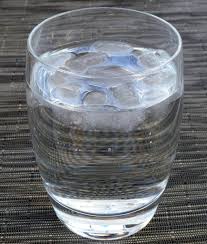
Do you ever think how lucky you are to be able to get a drink of water from the tap.
Most people in Australia don’t.
2.5 billion people don’t have access to safe drinking water at home. . . . according to the World Health Organisation around 1,000 children under the age of 5 die from water borne diseases.
So what has this to do with this website?
Well regular followers may have noticed I have been spending a lot of time overseas in the last year. . . . . It’s because I volunteer for a charity helping to bring safe water to developing countries.
For $5.000 we can provide safe water to a community of 500 people of a school with over 1,000 pupils.
this is a recent installation at a school in the Philippines.
Would you like to help, or just find out more; check out the link below:
Christmas is approaching and everybody will be purchasing unique decor.
Kids will be excited to receive Christmas themed gifts, cards, crafts, and ornaments too.
Children are more energetic than grown-ups and rather than buying decor this season, you can let them use their energy to help you make Christmas decor.
DIY activities are a fun and exciting way of keeping kids happy and occupied as well as igniting their imagination and creativity buttons.
Furthermore, your kids get to enhance their limp coordination and develop their skills concurrently.
Below are Christmas decor items that your children will love making.
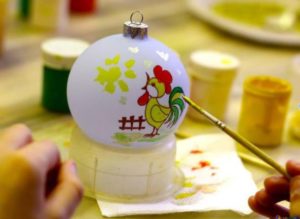
Ornaments
Ornaments can be made from readily available items in any commercial holiday decor company or around the home.
In addition, ornaments are easy to make and children can easily make them with minimal assistance.
You can have them create attractive ornaments to hang on the Christmas tree.
You can keep these as mementos to relive the memories once the kids are all grown.
Below are some Christmas themed ornaments.
Icicle Ornaments
Creating icicle ornaments plays a major role in enhancing your kid’s fine motor skills.
In addition, it is a chance to have your kids exercise their creativity with different patterns and colors.
For these ornaments, you will need a thread, beads, and metallic pipe cleaners or foil.
This exercise requires lots of focus to thread a pipe cleaner or foil through the beads.
Curl the pipe cleaner several times at the top and last beads to prevent the beads from falling off.
Ensure to leave some space between the beads to reveal the silver or metallic feature between them.
If you want to achieve a coiled effect, you can have the kinds wind up the pipe cleaner around a pen, slide it off after a few minutes, after which they can slightly stretch it.
Complete the ornament by sliding a thread on the topmost bead and knotting it.
Hang your finished icicle on your Christmas tree and enjoy how they glitter in the light.
Paper Candy Rods
Paper candy rods are easy and fun to make and you can have your kids hang them on the Christmas tree.
Still, you can exhibit them in a huge container, use them as a table or gift toppers, or curl them up to form a garland.
Paper candy rods are addictive and you can trust them to keep your kids occupied for a long time.
Kids get to exercise with a variety of color combinations which helps them improve their creativity.
You will need various items to make paper candy canes which are; scissors, markers, tape, and white paper.
To roll up the candy rod you will need to square the paper and use markers to draw 4 to 5 lines across the bottom and down one side of your paper.
You do not have to achieve perfect straight lines.
Now turn the paper and roll it diagonally beginning with the blank corner and finishing with the opposite corner.
Secure the end using a piece of tape.
It is easier for kids to curl up the paper around a pen or pencil.
Roll up one end of the candy rod around your finger to achieve a curved effect.
Ribbons and Bows
What is a festivity without ribbons and bows?
They bring out a holiday flair everywhere they are used.
Tying perfect bows is not an easy task for both adults and kids.
However, you can buy pre-made bows and have the kids use them creatively to make beautiful crafts.
They can hang them on the Christmas tree or twist them on candlesticks.
Drape a ribbon across tables or garlands to form irresistible craft pieces.
Christmas Tree Pieces
You can have the kids create a well cut out Christmas tree.
You need a Manila paper, glue, scissors, and different colored paints.
Since kids may have difficulties cutting the Christmas tree.
You can cut it and have the kids decorate it according to their preference.
This craft requires extra patience and is, therefore, ideal for kids who can sit still for long.
Conclusion
Do not spend huge amounts of money this Christmas on decor..
Try these simple DIY crafts and ornaments together with your children.
This is guaranteed to nurture their talents and skills and cuts down your festive season expenditure.