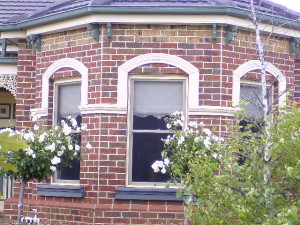
I was walking through one of the Western Suburbs the other day and came to a sudden stop when I saw this facade with stuck on decoration.
The owner must like it after all it would have cost them extra………… So what is wrong with it?
These sort of decorative pieces are meant to provide a bit of interest to a rendered finish, or at least provide a dividing line between brickwork and and render. Definitely not to be put on plain brickwork
The point of the arch shape is to match it with an arched window. Having a straight brickwork on a lintel below the ‘arch’ is absolutely out of character.
If you are going to go along this route at least colour match it with the window cills.
The joins between the pieces are clearly visible rather than smoothed out.
Am I just being a ratbag?…… or have I got it right?
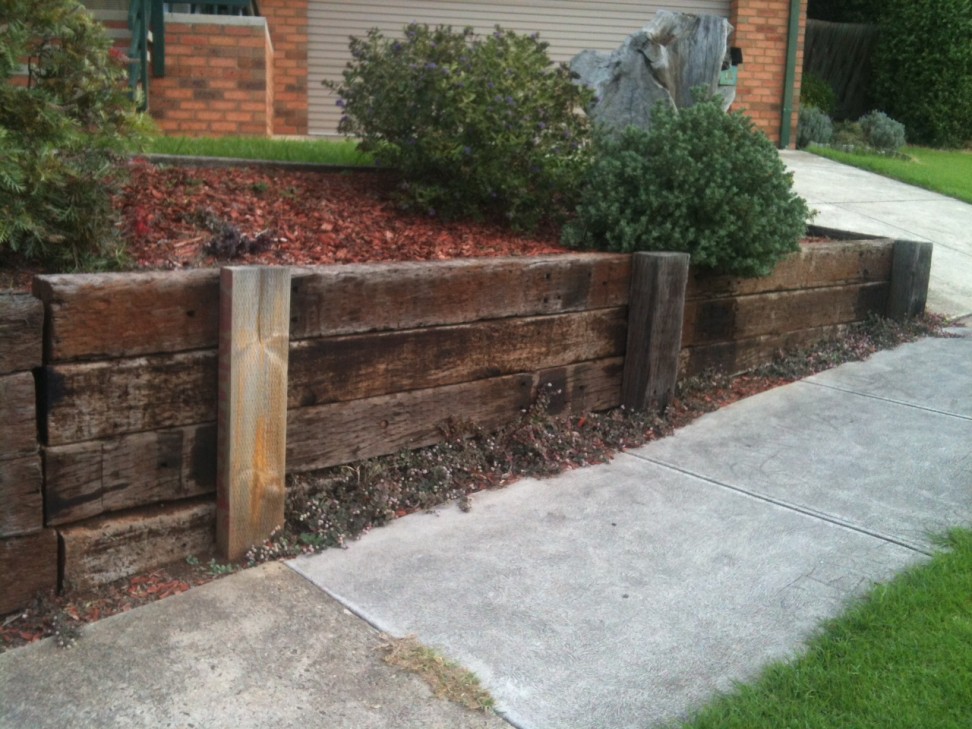
Although most people refer to these as Sleeper Walls the Technical term is ‘Post’ and ‘Whaling’ * Walls.
The posts can be Galvanised Steel like the example on the right.
Other alternatives are timber sleepers, like the example below, or even round timber posts.
For Whalings the choices are:
Timber Sleepers, Probably the most popular
Concrete, Usually similar dimensions to Timber sleepers
Round ‘Logs’, These are machined to be a consistent diameter.
Actual suitable railway sleepers aren’t that common now but most landscape suppliers will be able to supply new timber ‘sleepers’ with the following dimensions
– 2400 x 200 x 50mm – Suitable for Whalings in walls up to 800mm high**, and Posts, spaced at no more than 1200mm, for walls up to 600mm high.
– 2400 x 200 x 75mm – Suitable for Posts, spaced at no more than 1200mm, for walls up to 800mm high.
As the sleepers are going to be in contact with the ground make sure they are well treated with a preservative.
* Some references say ‘Wales’ but being a Pom I was always taught that they were ‘ Whales’. ** You will need specialist advice, and council permits, for walls taller than 4 sleepers (800mm).
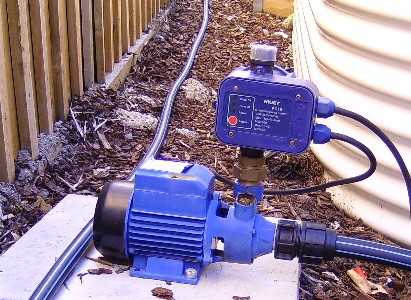
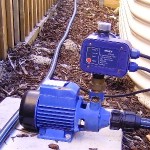
One of the reasons why most rainwater systems use too much power is because because the pump is too big. For other reasons see Rainwater – Pump Issues
Most pump suppliers and design charts will specify a larger pump than you really need (They sell a more expensive pump, It’s less likely that the pump will be returned because it isn’t big enough, and they aren’t paying the power bill)
If you want to pick the most economic pump here is how to go about it.
Instantaneous Flow
What is the most flow you need at any one time. Here are some figures for typical house fittings.
Fitting
Flow Litres/min
Tap
10 to 15
Tap with Flow Restrictor
4 to 6
Low Flow Shower
7 to 9
Washing Machine*
4 to 10
Dishwasher
4 to 6
Toilet
3 to 5
Garden Sprinkler**
10 to 15
*To get to the lower figure you will need to close the supply valve this will add a few minutes to the wash but will help with issues like Water Hammer.
**It’s really better to irrigate the garden with a separate pump.
Add together the highest flow rate fittings that you think you will want to run together, which will give you a Total Flow Rate ‘Q’
Pressure
You need to aim for a pressure at the fitting of around 150kPa (15m of Head)
To get this pressure you need to:
Measure the height of the furthest fitting above the lowest level in the tank ‘Hs)
Calculate the Pressure Loss ‘Hf‘ due to Friction in the pipes See table below
Max Flow Rate Litres/min
Hf m head per 100m of pipe
20
25
32
40
12
10.9
3.7
1.2
0.4
24
13.4
3.9
1.3
36
8.3
2.8
The Required Pump Pressure is then calculated from:
Required Pump Head ‘P‘ m = 15 +Hs + Hf
Or Required Pump Head ‘P‘ KPa = 150 +(Hs +Hf)) x 10
Ordering
To order a pump you just need to quote the Total Flow and Required Pump Head
When you are ordering a pump think about getting a Pressure Tank