Timber or Steel Frame

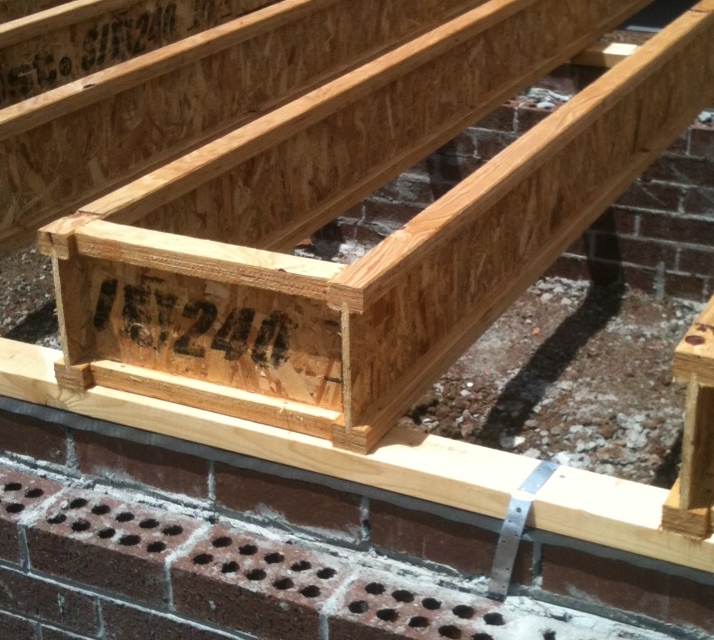
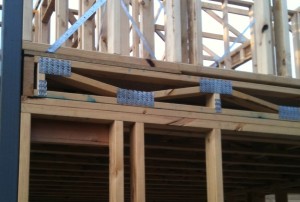
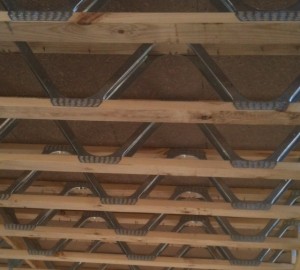
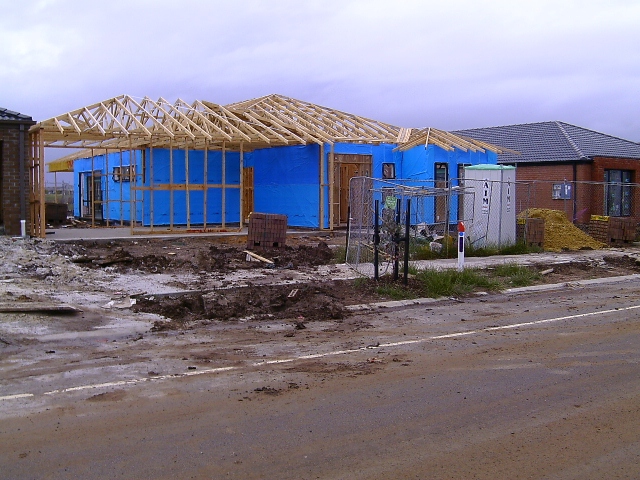
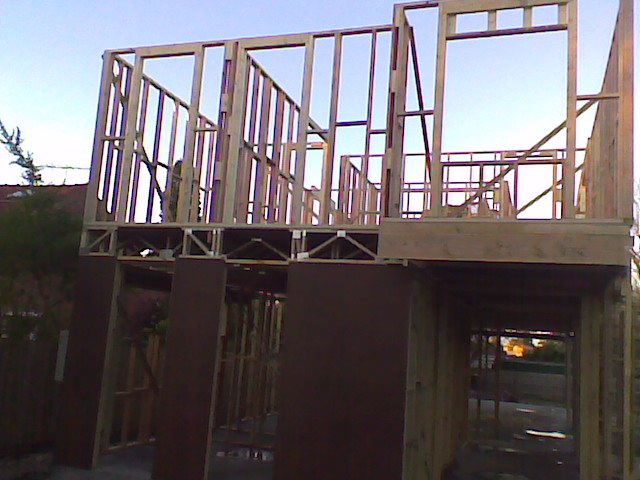
The most common frame for the standard brick veneer house uses timber.

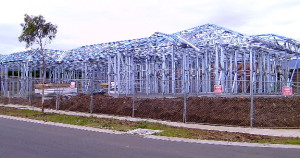
Steel frames however are becoming much more common. . . . So why should you choose one or the other?

Advantages of Timber

  • Well understood by builders;
  • Cheaper;
  • Easy to adapt or modify during construction or later;
  • Is a sustainable resource;
  • Better sound and heat insulation;
  • Easier to fix fittings into;
  • Lock away carbon.

Advantages of Steel

  • Cannot be attacked by termites or borers; (that doesn’t mean you don’t need termite protection as there will still be plenty of wood in door frames and cupboards etc);
  • Prefabricated frames are lighter than timber;
  • Steel doesn’t have to be treated with chemicals;
  • Doesn’t rot;
  • Doesn’t shrink warp or twist;
  • Doesn’t burn;

NB. Inside a building rust will not be a problem, but just in case most steel frames are galvanised.

All my houses up to now have had timber frames and I have been happy with the result so I would probably continue to use timber if I was getting someone else to erect it.

If I was planning to erect the frame myself I would probably go for steel for the weight saving.


To find out more about house frames follow this link: House Construction – The Frame

For similar posts look in the Design Category


Types of Floor Joists

Build a single storey house on a slab and you don’t need joists . . . . but if you have a suspended floor, or you have a two storey house, your structure will need joists.

When I first started getting interested in houses the standard joist was a solid timber section, something you rarely see these days.

Modern alternatives are lighter, use less wood and can span greater distances than the solid joists.

With the wide range of joists used in house construction I thought I would show three common alternatives to traditional timber joists.


HY Joists

These composite joists are lighter and use far less timber than a solid joist for an equivalent span.

They comprise of a solid timber ‘flanges’ bonded to a ‘web’ of plywood.

They provide room for services like heating and cooling ducts as long as the services run parallel with the joists.

In this photo you can see the ‘end blocking’ which is used to ensure the joints don’t topple over.


Pryda Longreach Truss Joists

These trusses are assembled using standard timber sections for both the chords ( the top and bottom timbers) and the connecting webs.

Joins are with gang nail plates at each connection point.

This truss does give more flexibility with the direction that services can be run, than the HY Joists.


Posi Strut Truss Joists

Pryda Span trusses have metal diagonal webs to save weight and cost.

They are better for shallower trusses where there is more clearance room to accommodate services than a timber web product.

In some instances, some of the diagonal metal webs may be replaced by timber websdependant on load or geometry considerations.

Webs may be on both faces of the truss or just on alternate faces depending on the design loading.


See Timber Frames for more posts about your house structure.


Termites

Did you know Australia has around 15 species of termite which can damage the timbers in your new house.

Although some species of timber are resistant to termites none are termite-proof. In practice any structure containing wood can be attacked, unless protective measures are taken.

Even if you have got a steel framed house, or double brick, you will still have timber in things like doors and architraves.

photo from Wickipedia

Know Your Enemy

Termites are more like cockroaches than ants.

Subterranean termites do more damage to timber than either damp wood or dry wood termites.

The termites generally remain within a system of tunnels that can extend 50m, from the central nest, to food sources.

Its not unusual for the termites to build their tunnels round any barriers so no matter what termite protection you use you still have to inspect the barriers regularly.

In order to get to their food source of wood, termites can damage materials they cannot digest such as plastics, rubber, metal or mortar.

Protective Measures

In the past certain areas were identified as at risk of termite attack while others were considered termite free. I thick it is much better to consider all properties at risk.

I’m not a fan of regular spraying of chemicals so for me a permanent barrier is a must.

Basically you need a continuous barrier to prevent termites climbing up through the external wall and individual protection around any pipes and conduits that penetrate the slab.

Options for the barrier in the walls, in order of rising cost include:

  • Exposed Concrete This is cheap and effective as it involves leaving the bare concrete of the slab exposed for a minimum of 75mm. Unfortunately not very attractive,  although you could use a concrete paint to match the brick colour.
  • Barrier Containing Insecticide Probably the most common is  Kordon, which is a  combined DPC and termite protection. It is two layers of plastic sandwiching an insecticide impregnated layer. (Expect to pay around $1,500)
  • Termimesh A fine stainless steel mesh. (expect to pay around $2,000)

Last time I built I used Termimesh as I was concerned about appearance, and preferred not to use chemicals.


Decisions on your new home? . .  see  Selection/Pre-Start Guide

Only $4


Retaining Wall – Sleeper Walls

Although most people refer to these as Sleeper Walls the Technical term is ‘Post’ and ‘Whaling’ * Walls.

The posts can be Galvanised Steel like the example on the right.

Other alternatives are timber sleepers, like the example below, or even round timber posts.

For Whalings the choices are:

  • Timber Sleepers, Probably the most popular
  • Concrete, Usually similar dimensions to Timber sleepers
  • Round ‘Logs’,  These are machined to be a consistent diameter.

Actual suitable railway sleepers aren’t that common now but most landscape suppliers will be able to supply new timber ‘sleepers’ with the following dimensions

– 2400 x 200 x 50mm – Suitable for Whalings in walls up to 800mm high**,  and Posts, spaced at no more than 1200mm, for walls up to 600mm high.

– 2400 x 200 x 75mm – Suitable for Posts, spaced at no more than 1200mm, for walls up to 800mm high.

As the sleepers are going to be in contact with the ground make sure they are well treated with a preservative.

* Some references say ‘Wales’ but being a Pom I was always taught that they were ‘ Whales’.
** You will need specialist advice, and council permits, for walls taller than 4 sleepers (800mm).

See Understanding Retaining Walls for information on the sort of loads Walls have to carry

Exit mobile version