New House Insurance

Your builder has given you a handover date . . .  so you need to organise property insurance to start on that day.

How Much House Insurance Will You Need ?

Well you have only just finished building so isn’t the price you have just paid the right amount?

I think you need to add 30%-50% to the build cost.

Why Do You Need Extra Property Insurance?

Well building on a new development is cheaper and an entirely different proposition to having a house replaced when it is surrounded by other houses.

Here are some of the reasons for extra costs:

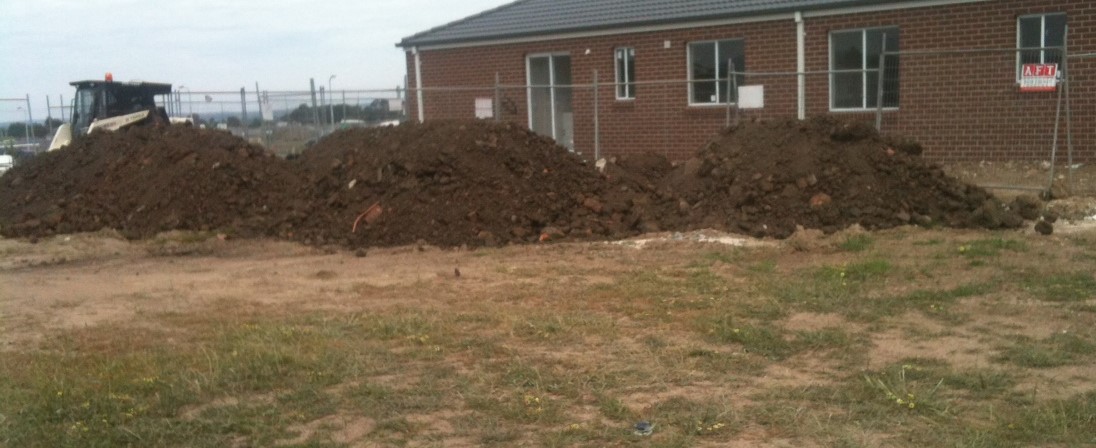
  • Demolition and removal of material from the site;
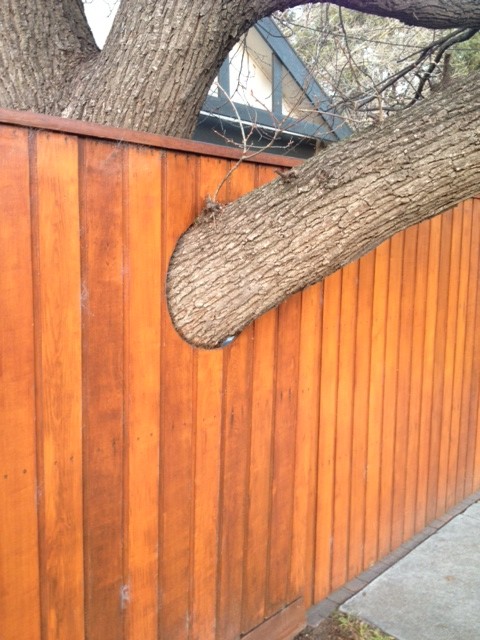
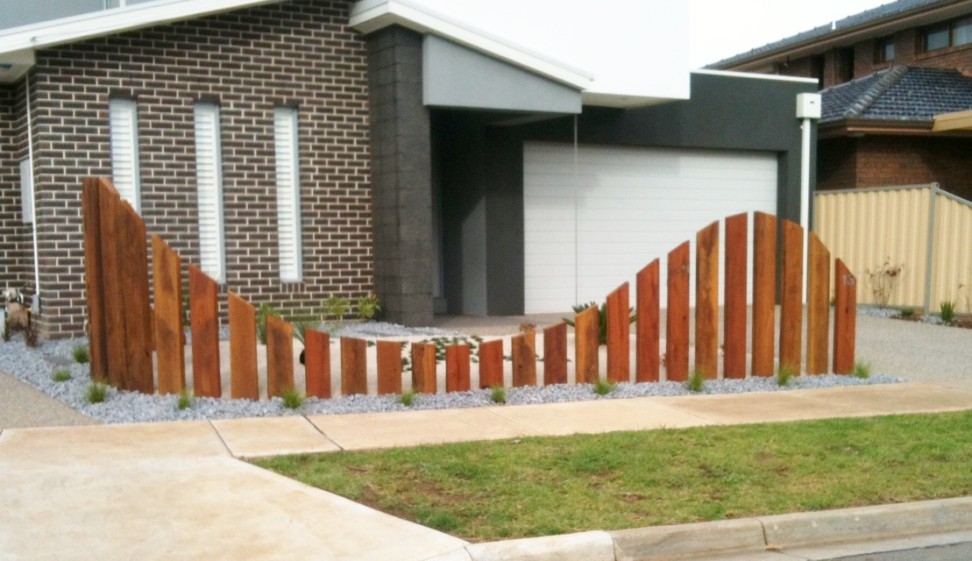
  • Once fences are built around the site and perhaps trees planted on the nature strip builders may consider the site ‘Restricted‘;
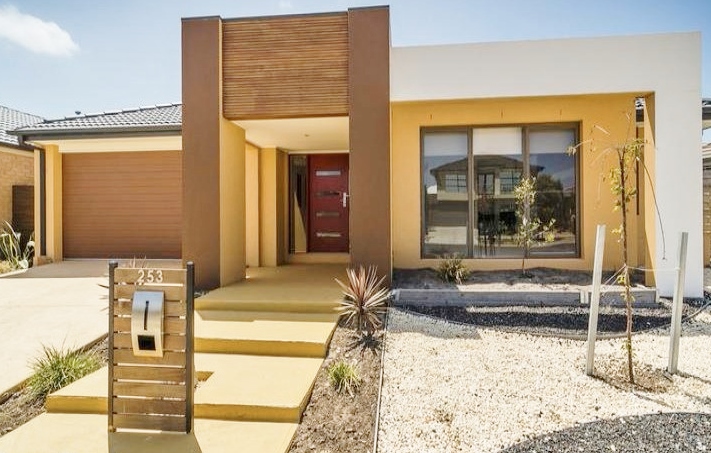
  • Gardens, and paths, which may have been excluded from the initial construction cost will have to be replaced;
  • The original builder may not offer the standard house you had previously built meaning architects may need to be engaged. (Even though you had a project house built you may find yourself up for a cost structure of a custom house)
  • Building regulations may change.

All these extras make it important to make sure you don’t under insure.

The costs of possibly over insuring are small, compared with having to deal with the trauma of loosing your home. . . . Then having a bill of tens, or even hundreds of thousands of dollars, to replace the house.


Also see Danger of Under Insuring


Fixings on Plasterboard Walls

When you move into a new house there are lots of things that need to be fixed to walls.

For things like small pictures you can use picture hooks . . . . but what about heaviers things like; mirrors, tool racks, and shelves.

You will find that a lot of DIY manuals recommend screwing into the timber wall studs. The trouble is the studs aren’t always in the right location or easy to locate.

One solution I have found useful are Wallmate Anchors like this one.

Last time I moved I bought a box of 100, and used them all in the first six months.

I find them quite easy to use as follows:

  • Make a small hole in the intended location.(The instructions say you don’t need to make a hole but I find this less accurate)
  • Position the small spike in the end into the hole and screw in using a cross head screw driver until the anchor is flush with the wall.
  • Screw your fixing into the anchor

NB. I have not been paid for this post.

See Settling In for more Posts


Protect Your Block From Dumping

A regular problem with vacant new house blocks is they are used as a convenient dumping ground for other builders.


It’s much cheaper to dump on a nearby site than haul the material to a tip and pay tip fees.

If you are are really unlucky the material may be contaminated (for example asbestos waste). . . . which may mean you have to pay for testing and additional tip fees to dispose of it.

Fence the Site

The best advice I can give is to make your site seem loved by erecting a fence,  mowing any grass and/or keeping weeds under control.

It doesn’t have to be an expensive fence, something like a 1.2 m high dog mesh supported by steel star pickets at 4-5m intervals will be fine, and should only cost around $5-6/m.

If you have got quite a few posts to put in it can be worth hiring, borrowing , or buying a post driver.

Light fencing like this is not foolproof, but it makes things a little more difficult for the dumper. This means they are more likely to look for a block where nobody seems to be taking an interest.


See Guide to Buying a Block for more advice.


Daylight Tubes

Solatube

If you have a gloomy smaller room (for example bathroom, WIR, or hallway) consider a daylight tube. They are a more energy efficient alternative to conventional skylights or having to keep putting the lights on.

Daylight tubes have three parts:

  • Roof mounted clear, hemispherical dome
  • Connecting  smooth highly reflective tube/duct
  • Ceiling level diffuser

As they require a smaller area of roof glazing than a traditional skylight, heat gain in summer and heat loss in winter is significantly reduced.


Selection and Installation

Smooth shiny tubes. will deliver more light than corrugated flexible tubes.

Although the advertising show the ducts bent into all sorts of shapes in practice the straighter the tube the better the light.

Although you can buy DIY kits working on a house roof is risky. If you are not confident it may be better to pay for it to be installed.

Make sure the ceiling insulation is replaced tightly around the tube

Front Path – Fail 2

What an imposing facade!

But why is it spoiled by that letter box in the middle of the path? . . . . . Perhaps it’s because the letter box is hiding the water meter!

It’s funny how those water meters always seem to be in the wrong place. We had the same issue at my last new house, but solved it by widening the driveway to avoid the meter entirely.

Thanks to Herman Fong for submitting this photo. (If you see something funny on a house send it in and give us all a laugh)


For more Unusual House Photos, and Fails, check out: What the………………….?


The Risk Of Too Much Security

As I visit lots of houses I often wonder if some houses have too much security.

I see lots of houses with roller shutters or even steel gratings over the windows like these.

Quite often when I ring the bell the owner seems to spend ages unlocking the various locks and bolt on the front door.

Yes they are keeping people out . . . . . but what happens if there is a fire in the house?

In a typical year around 70 People die in Home fires in Australia.

So before you put more security in your house . . . .Think about how you would get out in a fire!

Here are some thoughts about making sure you keep safe:

  • Although I typically have two locks on my doors I only lock the deadbolt when I am going out.
  • If you do want to lock the deadbolt while you are inside always leave a set of keys where it is easily accessible in an emergency.
  • Think about how you would escape through the window if you couldn’t get to the door. I would be able to smash a window and get out . . . But would shutters or bars lock you in, with the flames!


See : Doors and Glazing for more posts


Height Above Ground


For the typical modern house with slab on ground base there are two minimum heights above ground level that need to be considered:

  • Next to the building.
  • Distance of 1m away.

The reason for these minimums is to keep water out of the building, including the structure and foundations.

Next To The House

Floor level above external finished surfaces must be a minimum of:

  • 50 mm above impermeable (covered paved or concreted areas) that slope away from the building
  • 100 mm above the finished ground level in low rainfall intensity areas ( 5 minute intensity of less than 125mm/hour for a recurrence interval of 20 years -see: Rainfall Intensity to check your site), or sandy well-drained areas
  • 150 mm in any other case.

Distance of 1m

The external finished surface surrounding the slab must be sloped away from the building, for the first 1m by a minimum  of the following:

  • 25 mm in low rainfall intensity areas for surfaces that are reasonably impermeable (such as concrete or clay paving)
  • 50 mm  in any other case.

Normally in clay soils I would allow another 15-20mm to allow for any ‘Soil Heave’. (See:Building on Clay Soils)

Overall

To meet the Building Code the range of total heights above ground will vary between 75mm and 200mm depending on circumstances. If you want a smaller step between inside and outside (for reasons such as Better Accessible Design) you will need to talk with your House Designer about a detail which meets the intent of the Building Code (Keeps water out of the house).


Exit mobile version