A ‘Waffle Pod’ slab is now probably the most common Concrete ‘Raft’ House base.
It has generally taken over from the Conventional Raft Foundation.
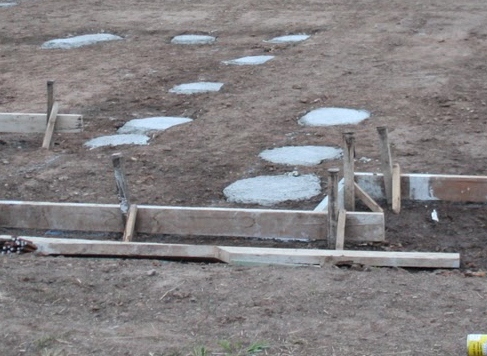
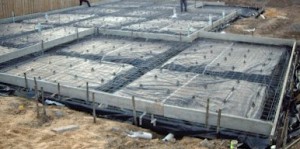
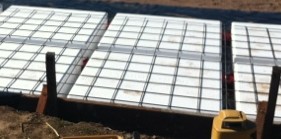
It’s an example of composite construction with polystyrene pods forming the voids in the underside of the concrete ‘Waffle’.
This photo shows some of the pods, with the reinforcement fixed over them, prior to placing the concrete.

Advantages
- Cost
- No trenches resulting in:
- Simpler excavation; and
- Flat sub-base means site is easier to keep dry than trenches that collect water.
- Waffle Pods bring house further out of ground so in an area that is wet the higher the better.
- Better insulation from the ground meaning the floor will warm up quickly from cold when you put the heating on. (especially if you go for in slab heating)
Disadvantages
- More susceptible to bad workmanship – If the pods move during placing of the concrete.
- More susceptible to bad drainage which can lead to soil heave if building on reactive clay
- Lower thermal mass so less suited to passive solar design.
- Thinner slab (typically 75mm rather than 100mm) means may it not be as resistant to point loads such as jacking a car. Some people specify 100mm thickness for the garage floor.
- A thicker overall slab may be needed if you want Floor Drains (To allow for the dropped floor in those rooms)
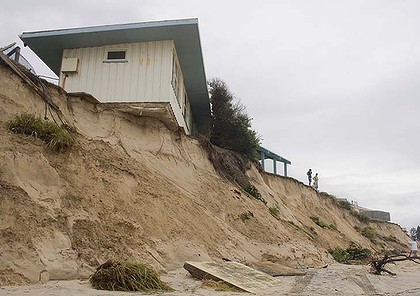
Problem Sites
If your block has difficult ground conditions its still possible to use a waffle pod slab with:
Also see Ground Conditions