Window Abbreviations

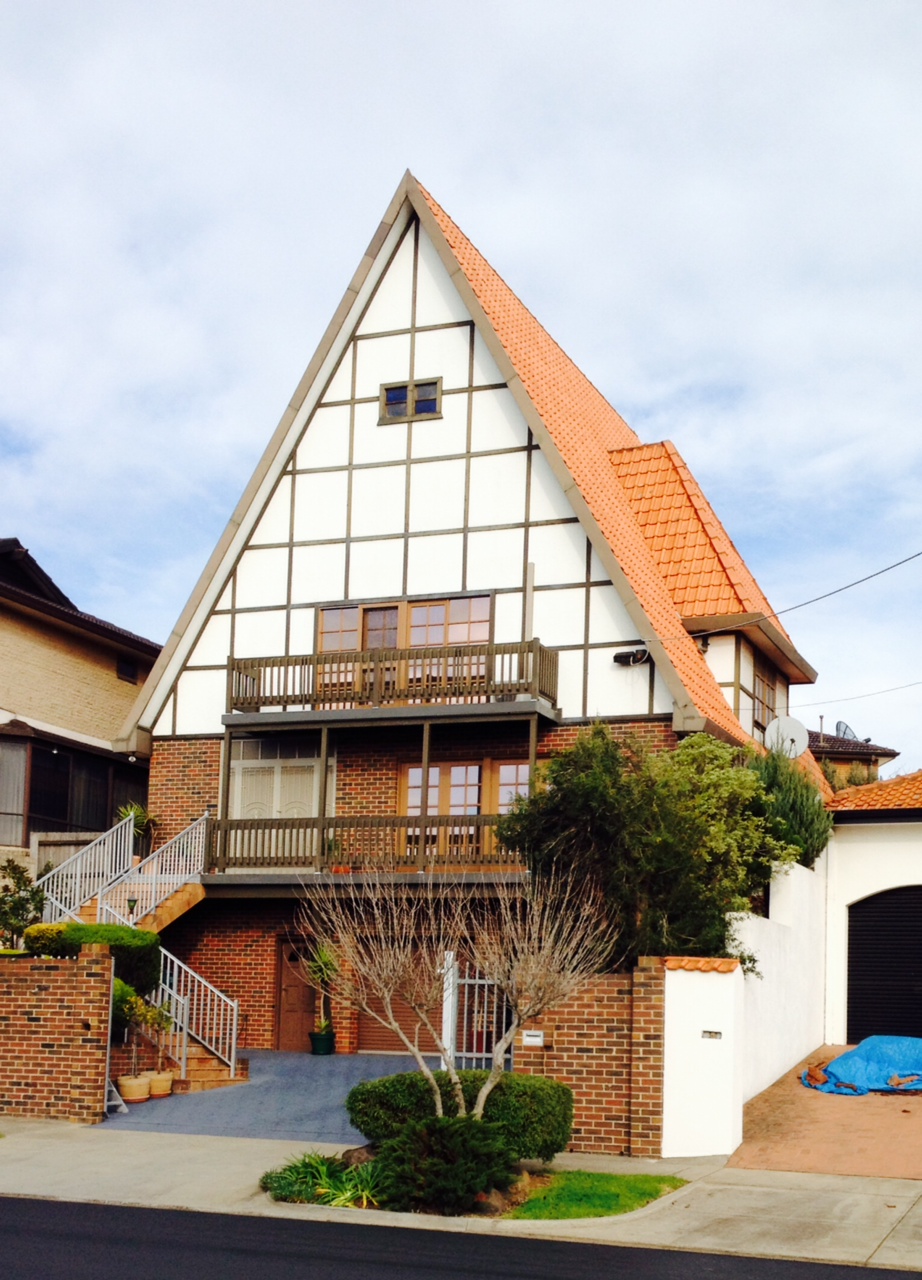
When you are looking at builders plans it can be hard to understand what all the abbreviations mean!

Here are some common window Abbreviations /Acronyms:

AL – Aluminium (also Alum)
AW – Awning Window
CG – Clear Glass
CLR.OPG – Clear Opening
CR – Curtain Rod
DG – Double Glazing
DH – Double Hung
FG – Fixed Glazing
FO – Finished Opening
FR – Frame
FRG – Fire Resistant Glazing
FS – Fire Shutter
GB – Glass Block (also GL BLK or GLB)
GP – Glazed Partition
HSW– Horizontal Sliding Window
IS – Insect Screen
LVR– Louvre
MUL – Mullion
OB – Obscured (e.g Frosted also OG -Obscured Glass)
OPG– Opening (also OW – Opening Window)
PG – Plate Glass
PW – Pivot Window
RS – Roller Shutter
SD – Sliding Door
SGS– Silicone Glazing Sealant
SH – Side Hung
SW – Sliding Window
tr – Transom
UPVC– Unplasticised PVC
VP – Vertical Pivot
VS – Vertical Sliding
WERS– Window Energy Rating System
WF – Wood Frame
WG – Wired Glass
WS – Window Sill (or Cill)
WW – Window Wall

If you have seen an acronym you don’t understand, then let me know, and I will try to give you an answer.

See Jargon for more posts


Specification

Control of costs is really important if you don’t want to run over budget on your new home.

One of the key areas in controlling costs is understanding the specification of the house.

One of the traps that many people fall into is paying a deposit based  on an initial specification, They are then hit with major costs down the track to upgrade to the standard they want.

There are really 3 stages to the Specification of a New House.

Basic Stage

This covers the building of the main structure of the house and includes:

  • Floor Plans
  • External Elevations (what the house will look like)
  • Foundations
  • Construction (eg Brick Veneer , Double Brick. timber clad, etc)
  • Windows
  • Basic Insulation


Detailed Design Stage

This is when the things like fittings are detailed such as:

  • Kitchen cupboards and counters
  • Cooktops and Ovens
  • Bathroom Fittings
  • Tiles
  • Electrical Fit out

Watch out for the builder including Prime Cost Allowances

There are extensive checklists in the Guide to Selection that will help you through this stage.

Finishing

These are the finihing touches which may be included by the builder, but are usually done by the homeowner after the move. These typically include:

  • Driveways
  • Paths
  • Gardens
  • Pergolas
  • Pools
  • Outdoor Kitchens

If these are the things that you want included in your new house you need to be aware of the likely cost and make sure that you have enough left in your budget.


See Budget for similar posts


Roof Slope

This house has one of the steepest roofs that I have seen around Melbourne.

I certainly think doing any work would be a bit scary, and very expensive.

So what are the considerations when thinking about Roof Slope (or Roof Pitch)

Roofing Material

In general a tile roof needs more of a slope than a metal  roof.

Depending on the type of tile, and the length of the roof. the minimum slopes for tiles ranges from 15 degrees to 30 degrees.

In the case of a metal roof the slopes can be much less. Again it depends on the type of metal profile with corrugated steel having a minimum slope of 5 degrees. Other profiles can be even flatter.

Appearance

I think that the roof has to be in proportion to the rest of the house.

If you look at the sketches on the right you will get an idea of how a different slope can look.

In my opinion:

  • The most appropriate roof for a single storey house will be no more than 20 degrees.
  • A 30 degree slope looks too much on a single storey house, but looks OK on a 2 storey house.

Solar Efficiency

Basically the angle should be within the range of:

Angle of Latitude   and     Angle of Latitude – 15 degrees

see this link: Solar Panel Alignment

Avoiding Splitting Responsibility

I often come across people who want to exclude certain items of the work from a house building contract to save money.

They may want to do the work themselves, use their own tradie (relative or friend) or use a different supplier to install things before or during the build.

Liability for Problems

The main issue of splitting the House contract is that you can finish up with split responsibility,  giving the Builder a  ‘Get Out of Jail Free Card’.

If there is a problem during construction, or defect that is any way related to the service you excluded from the contract then:

  • Who do you chase for remedy; Builder, Supplier, or even accept responsibility yourself?
  • The Builder, and the Supplier, will usually deny all liability blaming the other.
  • Whoever you believe is at fault you will to take it to an appeal, or arbitration,which will take time and money
  • To support your claim you will probably need an independent professional opinion which will add to the cost.
  • There is no guarantee that the finding will be totally in your favour.

Examples of Issues

Here are a few common issues:

  • Delay If your build contract goes over time one of the Builder’s strategies to avoid paying Liquidated Damages is to claims your supplier delayed the works as they were slower than his normal supplier.
  • Theft Stealing is rife on building sites. Even though the Builder lets your supplier on the site there is normally an exclusion of liability for theft.
  • Damage Scratches, dents, marks, breakages, at best the builder may provide compensation at a level related to the cost related to the value of the cheapest standard replacement. (for example a standard GRP bath not your $2000 free standing ceramic bath)
  • Failure To Work Properly This mainly occurs on issues like plumbing or electrical items. Because of a lack of communication the wrong pipe or wiring has been installed, or the locations are incorrect. Again each blames the other and you can be up for an extra cost.
  • Damage Scratches, dents, marks, breakages, at best the builder may provide compensation at a level related to the cost related to the value of the cheapest standard replacement. (for example a standard GRP bath not your $2000 free standing ceramic bath)
  • Future Building Movement I have heard of people doing their own site preparation including cut or fill. In WA I know some people want to install their own drainage work (Soak wells). If you then get any building movement you may find you have given the builder a get out to avoid bills of tens of thousand of dollars.

I hope this helps you understand the issues, and also the risks, of splitting supply and/or work from the main building contract.

Personally I have always let the Builder provide a finished house and installed any extras later.


Pressure Reducing Valves (PRV)

I have previously talked about Noises in Pipes and Dealing with Water Hammer, but neglected to mention PRV’s.

Frequently people think high water pressure to be a good. In fact it can be a big problem. Too much water pressure in a domestic system can:

  • Result in toilet systems leaking,
  • Put extra stress on plumbing joints, taps and water heaters,
  • Increase the risk of washing machine/dishwasher hoses bursting,
  • Cause water hammer issues.
Caleffi PRV

Installing a PRV can be a  simple way of dealing with these problems.

PRVs automatically control the water pressure so effectively reducing a high incoming pressure to a lower, more acceptable pressure. Used in the home it can help to save water and increase the longevity of household appliances.

A valve for a domestic system will cost around $60 plus installation.

Valves are typically set by the manufacturer at a pressure of 500kPa normally suitable for most household. If necessary the pressure can be further reduced.


See Plumbing for more posts

Quirky Rome Apartment 2

Earlier this week I posted about the quirky apartment we have rented in Rome.

Here are a couple more photographs.

The first shows the wall that separates the entrance hall from the Bathroom / Laundry.

The wall is a translucent material with a blue tinge on the external surface and a white surface on the bathroom side.

The lights are mounted inside the wall to illuminate both rooms.

I am sure you will agree that it gives quite an unusual effect.

Another interesting thing was the security.

This photo shows the locking mechanism on the steel lined door.

It looks more like the lock on a bank vault than a domestic dwelling.

Don’t think I have shown you all the quirks;  I have left some for any readers to check out if they decide to visit.

See the previous post on a Quirky Rome Apartment to find out more.

 
NB. I have not been paid, nor received a discount on accommodation, for this post.


DIY Painting, Is It Worth It?

Graphic from www.clker.com

Painting doesn’t seem so hard to do.

Some people say “Why not paint our new house ourselves rather than pay the builder and save money?”

Well I have done plenty of painting of individual rooms over the years but I wouldn’t attempt a new house!

A figure I have heard from an amateur doing the surface preparation and painting of ceilings and walls only (not the woodwork) is around 180 hours for a 300 square m house.

Even if you have got a 200 square house its still 120 hours before you start on the woodwork. Add the woodwork and it will probably be at least another 60 hours.

Assuming there are two of you painting for 6 hours per day that can be over 7 weekends. This consequences are:

  • If you want the painting doing before you move that could be paying another couple of months rent where you live. That will eat into any savings from doing it yourself.
  • If you do it after you move you are going to be living in a mess for around 2 months. All your spare time will be used up painting, while all the other jobs that you find when you move, will have to wait.

About the only painting I would do myself would be painting a feature wall. Even then I would have the decorator do the initial painting of the wall. This would mean:

  • There would be no rush to paint.
  • All the surface preparation would be completed.

If you are going to paint yourself here are a few hints:

  • Invest in some good brushes and look after them.
  • Don’t try painting with a brush out of a big tin of paint, drop it and it makes a huge mess! Decant it into a half litre container.
  • For painting large walls a roller is the way to go. I regard these as disposable as they are difficult to clean well. You can wrap it with cling film and it should be OK to use the next morning, longer and plan on using a new roller.
  • Get some of those disposable overalls with a hood, because you are going to spill paint, and its worse if it gets in your hair.
  • When you have put the top securely on a paint can store it upside down, this stops it getting a skin on the top.
  • Make sure you get plenty of drop sheets or builders plastic on the floor.


See the Selection / Pre-Start Guide for more to think about when finalising your new home


Missed The Bath – Fail

But when was this stuffed up?

  • When the bath was selected
  • When the tapware was selected?
  • When the bath was installed?
  • When the tapware was installed?

It does show how carefully you need to thick about things at Selection/Pre-Start.

Thanks again to Herman Fong for submitting this photo. (If you see something funny on a house send it in and give us all a laugh)


For more Unusual House Photos, and Fails, check out: What the………………….?


Thermal Mass for Heating

If you read up about energy efficiency you will come across the expression ‘Thermal Mass’ . . . . . . but what is it? . . . . . and how does it work?

Materials with Thermal Mass

The most common materials with Thermal Mass in new houses are; Concrete, Stone, Slate, Tiles and Brick. In some cases water tanks can also be used to provide Thermal Mass. (But not easy to use as evaporation can  reduce the effectiveness, and the resultant humidity can cause damp)

A key characteristic of these materials are they are dense(heavy) and have the ability to absorb excess heat and then release it in cooler periods.

Thermal Mass need to be exposed. Covering with carpets or timber floors insulates them and prevent it from being as effective.

Heating

The trick is to put either ‘Free  or Low Cost Heat’ or ‘Spare Heat’ directly into the thermal mass which is released to keep your house warm longer.

Free or Low Cost Heat

Direct winter sunlight on a floor or a wall is a great source of free heat.  Just make sure you have Properly Designed Shade to keep the summer sun out.

Sources of low cost heat are things like using off-peak power, or excess solar power.  This can provide either direct heating, or run heat pumps circulating hot water into a slab.

Spare Heat

Each time a wood heater is filled with wood  it should initially be run with the vents fully open to minimise build up of creosote and soot in the flue . Without a thermally massive surround to help absorb the excess heat you can quickly over heat your room.

Any exposed thermal mass that is not heated may feel cool to the touch as it will be no warmer than the room temperature. However as the room cools this thermal mass will still release its heat back into the air to slow down the rate the room cools down. (This is known as ‘Thermal Lag’).

See Passive Solar for more posts

Exit mobile version